You are viewing an old version of this page. Return to the latest version.
Difference between revisions of "Mechanical Design"
(→THE RESULT) |
(→Partslist of the used components) |
||
| Line 47: | Line 47: | ||
* other components: | * other components: | ||
| + | *[https://www.amazon.de/DeLock-85462-M%C3%A4nnlich-Weiblich-Schwarz/dp/B0793LL5YH/ref=psdc_1626220031_t1_B07BPDSFJY DeLock 85462 0.25m USB A USB A Männlich Weiblich Schwarz USB Kabel, 85462] | ||
| + | *[https://www.amazon.de/DeLock-Kabel-Stecker-Buchse-Einbau/dp/B01A9GMCVO/ref=psdc_1626220031_t2_B07BPDSFJY DeLock Kabel USB 3.0 A Stecker > USB 3.0 A Buchse zum Einbau 1 m] | ||
<pre> | <pre> | ||
1x DeLock 82697 Cable USB 2.0 Micro-B male 2x open wires power 10cm (power for Touch-Display) | 1x DeLock 82697 Cable USB 2.0 Micro-B male 2x open wires power 10cm (power for Touch-Display) | ||
Revision as of 20:06, 21 June 2020
> Main Page > Piano Expander based on Pianoteq and Odroid-N2
Contents
- 1 Partslist of the used components
- 2 Picture Gallery
- 2.1 Mounting the Touch-Display into the housing
- 2.2 View onto the Touch-Display electronics
- 2.3 Backside of the Housing with mounted Odroid-N2 module
- 2.4 Position of the MIDI-Breakout-Boards
- 2.5 Piano-Expander Rear-View
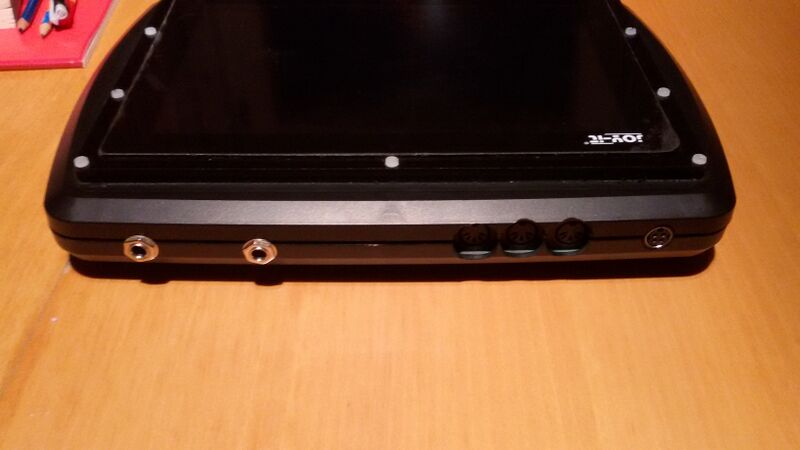
- 2.6 Power-Socket and MIDI-Breakout-Boards mounted into the housing
- 2.7 Headphone-Amplifiers mounted into the housing
- 2.8 Fold apart
- 2.9 mounting VESA-Adapter onto the Piano-Expander
- 2.10 THE RESULT
Partslist of the used components
- Remark: Some of the components used here seem to be very strange because they may be not available anymore on the market. The reason why I have used those components is very simple - I have just found them in my stock. Please feel free to use other components....
- The following components are used on my "prototype":
| Count | Part | Cost | e.g. available at... | Remark |
|---|---|---|---|---|
| 1 | Odroid-N2 | 80,- Euro | Pollin: Odroid-N2 | |
| 1 | 16GB eMMC Module N2 Linux | 23,- Euro | Pollin: ODROID-N2 eMMC Modul, 16GB, mit Linux | |
| 1 | Odroid Backup Battery | 4,- Euro | Pollin: ODROID BACKUP BATTERY | |
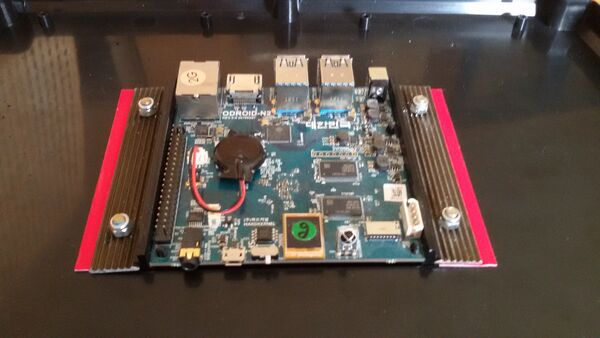
| 1 | Odroid-N2 VESA Mount-Kit | 4,25 Euro | Pollin: ODROID-N2 VESA-Mount-Kit | By using the Odroid-N2 mount kit it is possible to mount it on such an adapter 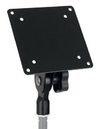
|
| 1 | Joy-IT LCD10 | 140,-Euro | was cheaper in the past |
- other components:
- DeLock 85462 0.25m USB A USB A Männlich Weiblich Schwarz USB Kabel, 85462
- DeLock Kabel USB 3.0 A Stecker > USB 3.0 A Buchse zum Einbau 1 m
1x DeLock 82697 Cable USB 2.0 Micro-B male 2x open wires power 10cm (power for Touch-Display)
1x StarTech UUSBHAU1LA  1ft. /30cm Micro USB Cable - A to Left Angle Micro-B (Data cable for Touch)
1x RND Electronics RND 455-00355 Flat plastic enclosure ABS IP 65
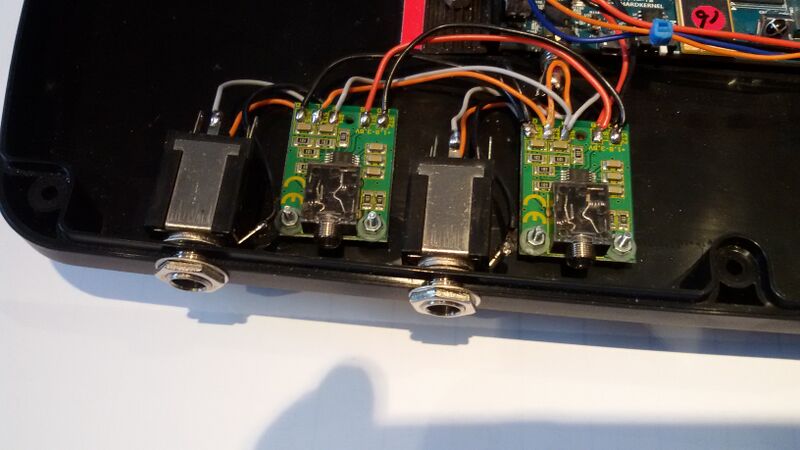
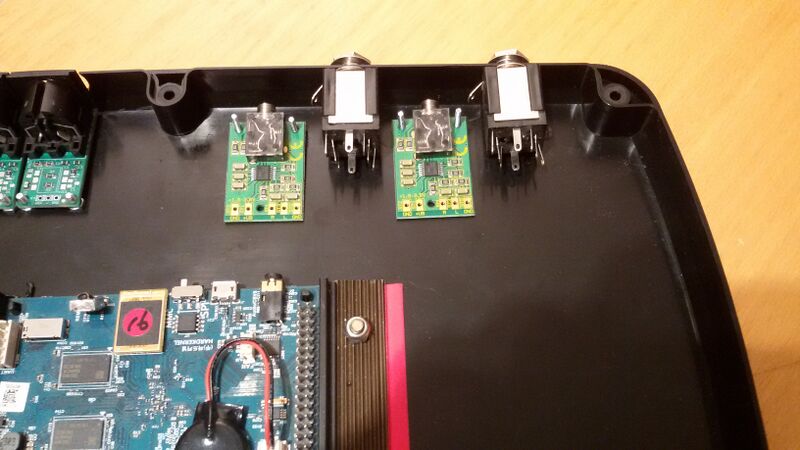
2x ELV Low-voltage-headphone-amplifiers based on MAX4409
2x Analog Device SSM2142 Balanced Line Drivers for symmetrical
    audio output on XLR connectors
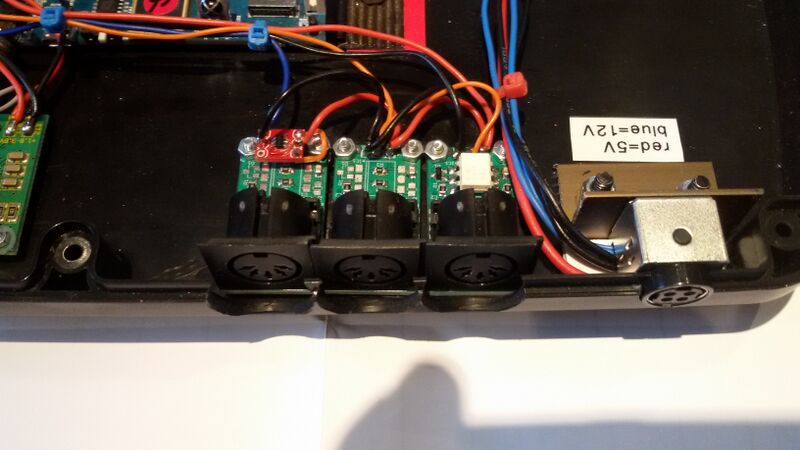
3x Elektor MIDI Breakout-Boards (MIDI-BoBs PCB No. 190070-1),
    (1x configured for MIDI-IN, 1x configured for MIDI-THRU and 1x configured for MIDI-OUT
1x Notebook-Style desktop-power-supply with 12V/2A and 5V/2A (formaly used for an
    external 5 1/4 inch HDD-case)
....
....
more coming soon
Used Power-Supply
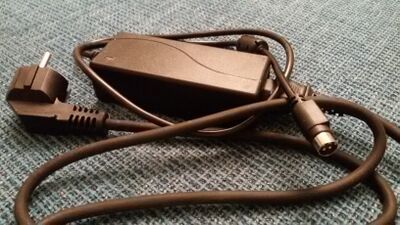
- I've found a desktop-power supply which was originaI used for an external 5 1/4 inch hard-drive. It provides 12V / 2A and 5V / 2A thus exactly what is neede for the piano expander.
- 5V / 2A for the Joy-It Touch-Display
- 12V / 2A for the Odroid-N2
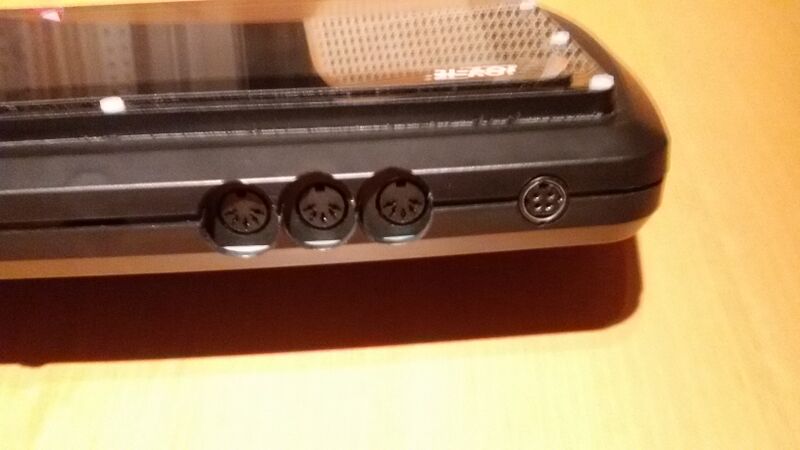
- The connector which was used on this power-supply was a Mini-DIN4 Power Plug (PP).
Picture Gallery
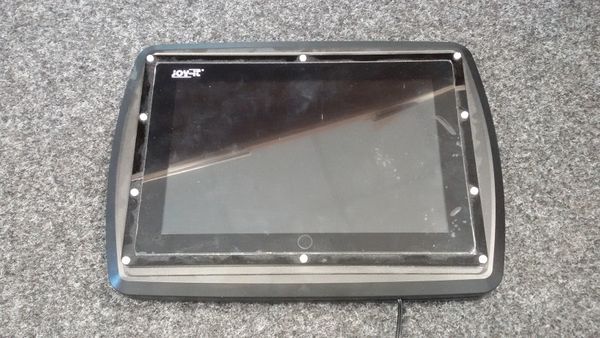
Mounting the Touch-Display into the housing
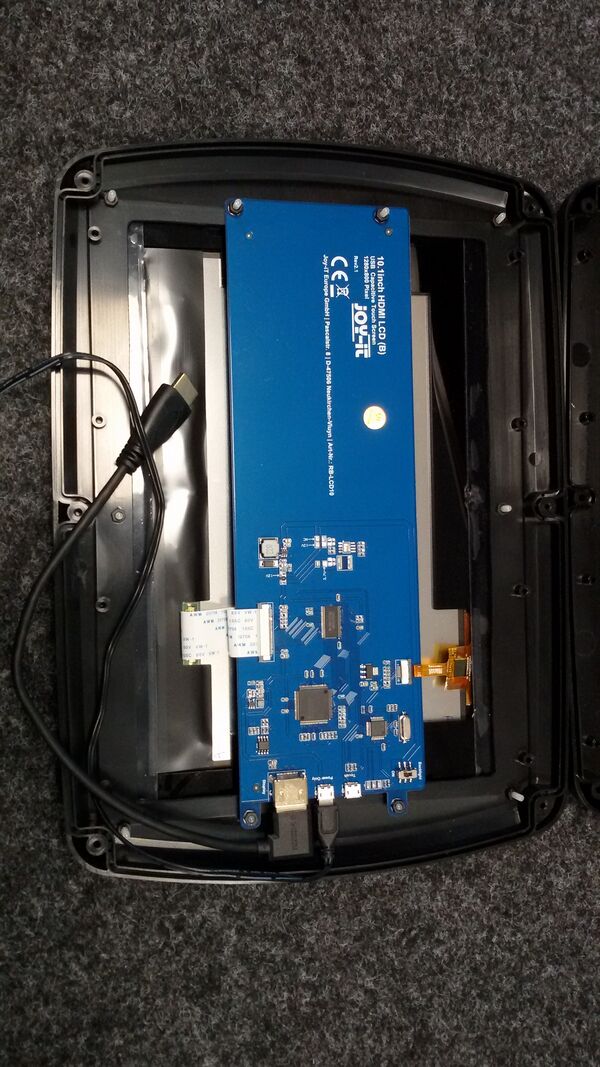
View onto the Touch-Display electronics
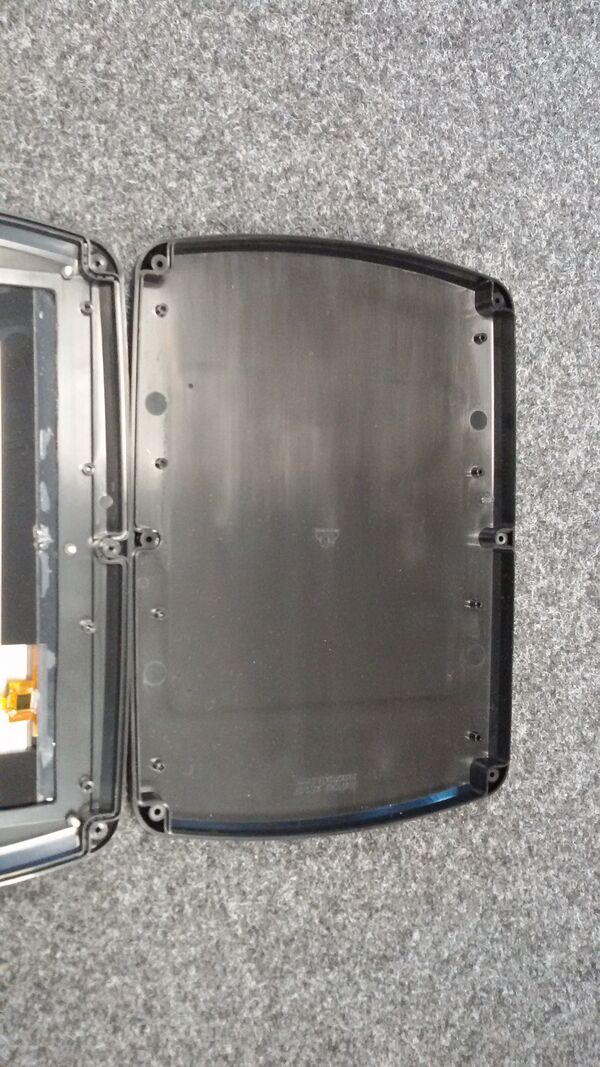
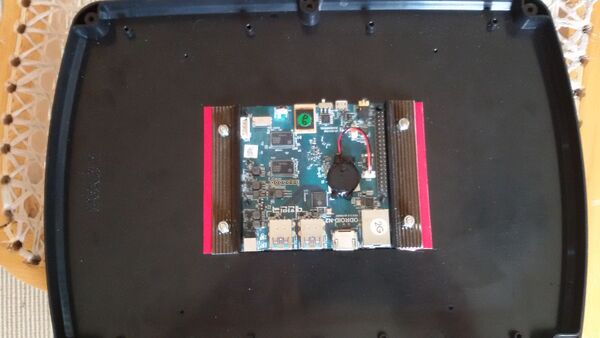
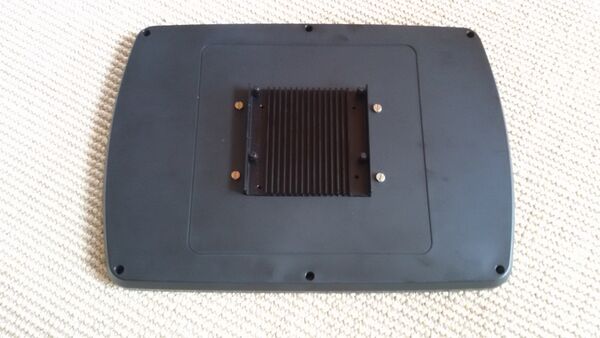
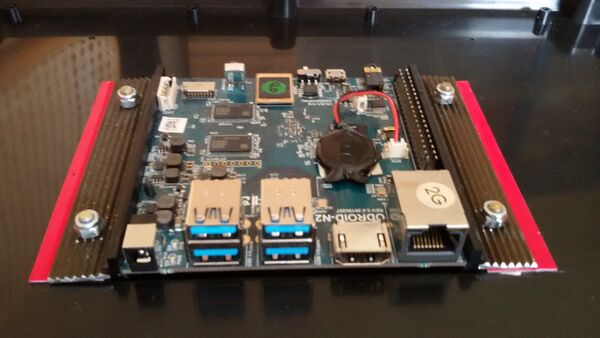
Backside of the Housing with mounted Odroid-N2 module
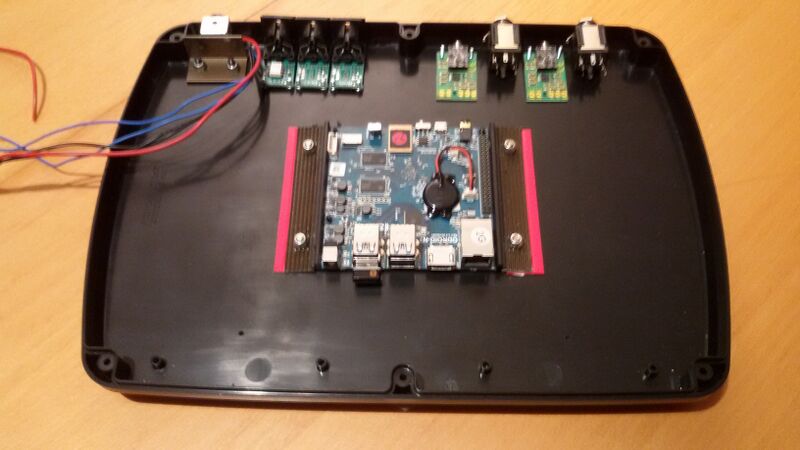
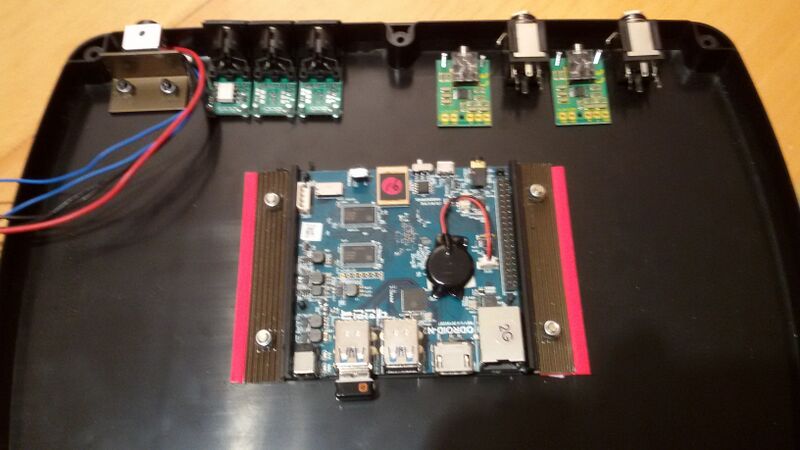
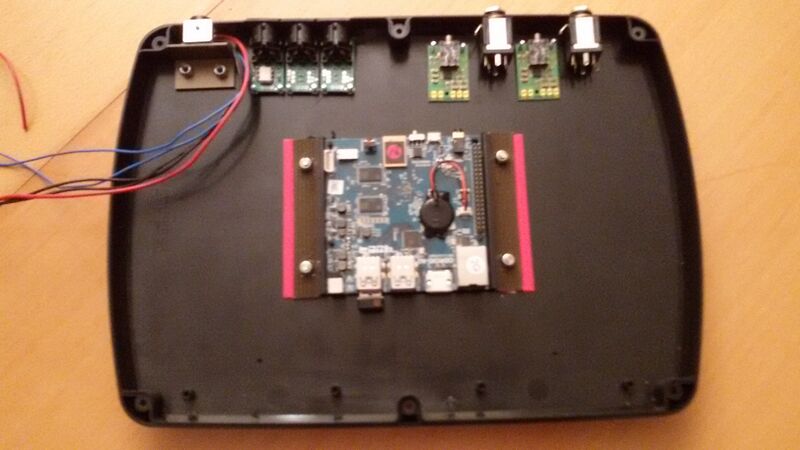
- Rear-Side of the housing without the breakout for the Odroid-N2 module
- Rear-Side of the housing with the mounted Odroid-N2 module
- Fastening the Odroid-N2 module in the housing
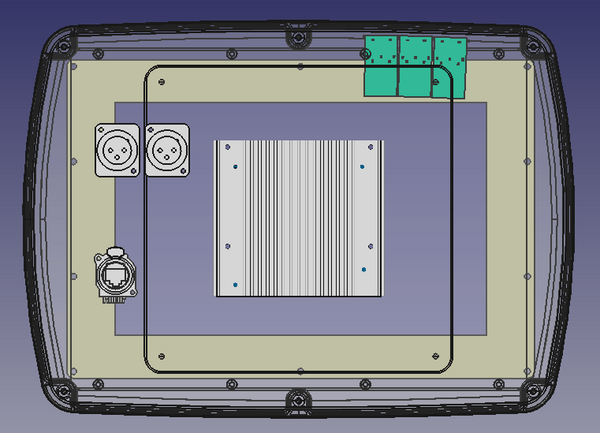
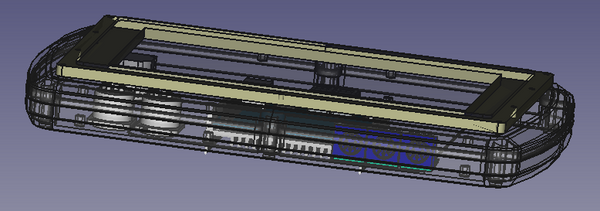
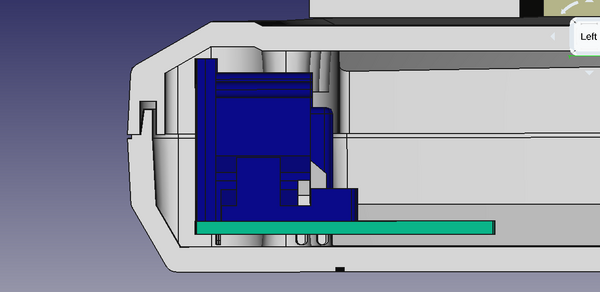
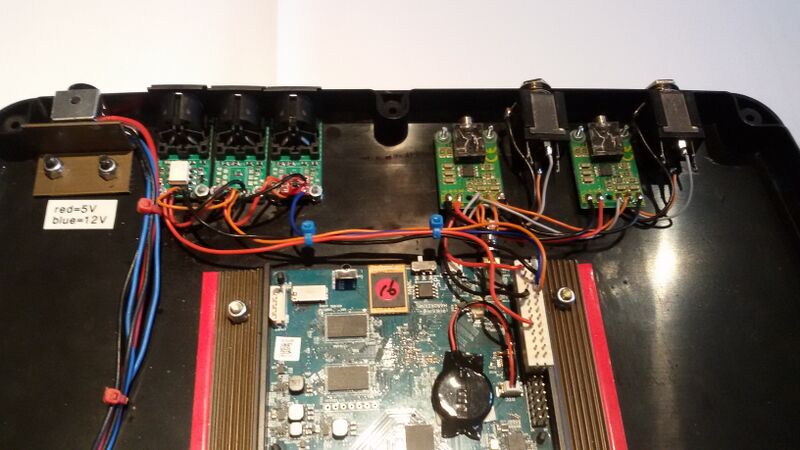
Position of the MIDI-Breakout-Boards
Rear-View
Side-View
Cut-away view
Piano-Expander Rear-View
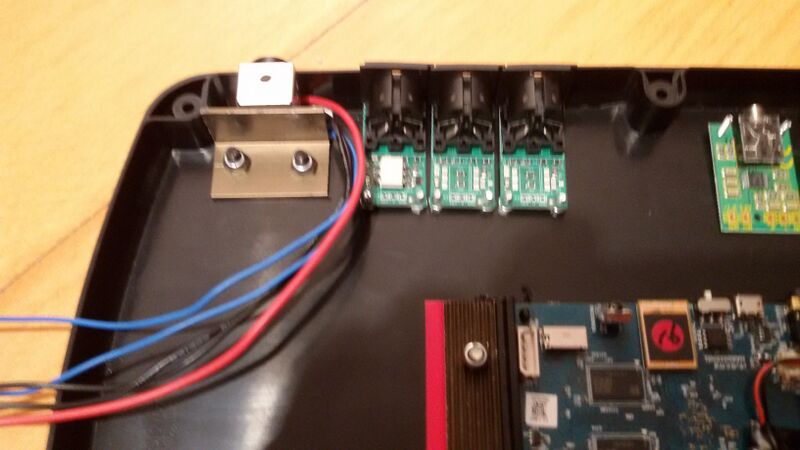
Power-Socket and MIDI-Breakout-Boards mounted into the housing
Headphone-Amplifiers mounted into the housing
Fold apart
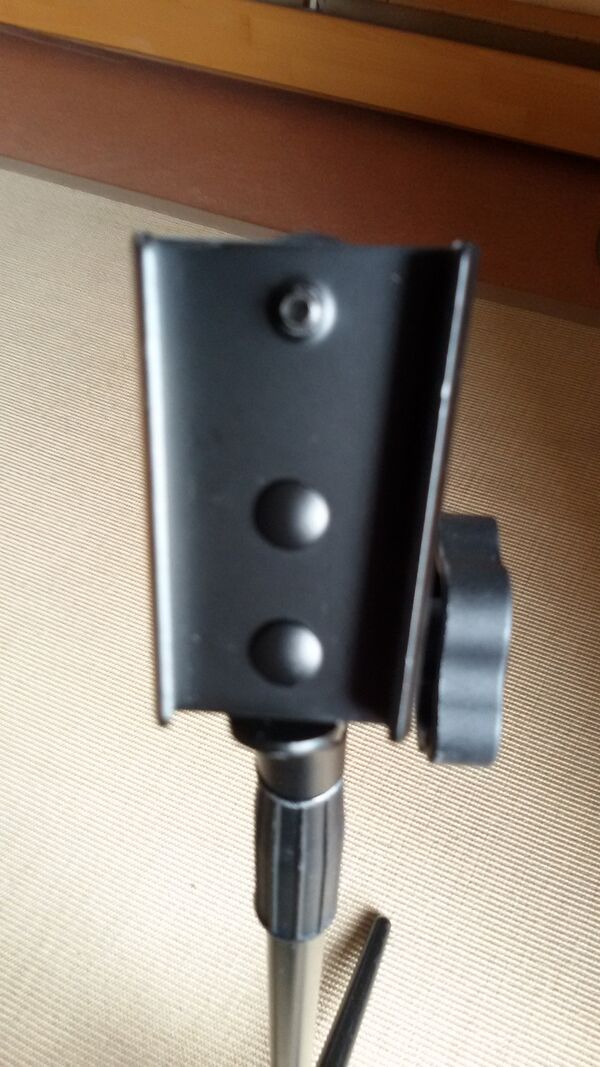
mounting VESA-Adapter onto the Piano-Expander
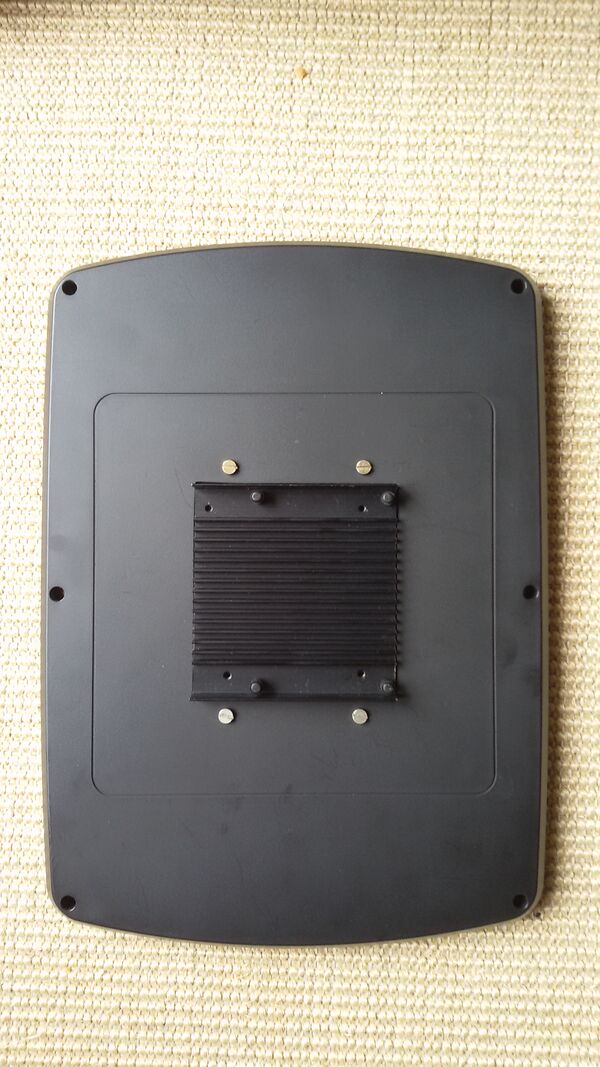
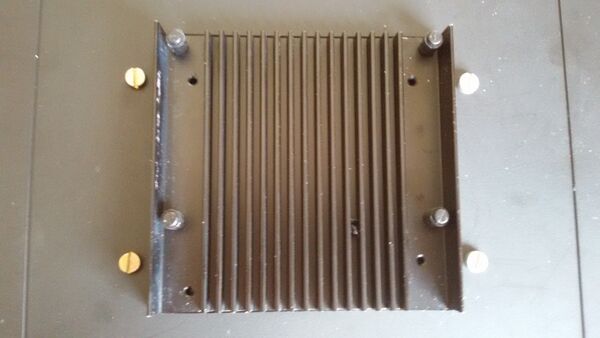
- as you can see on the picture below the Odroid-N2 has 4 holes on its heatsink for mounting the optional Odroid-N2-Vesa-Mount-Kit.
- Don't waste money while buying the old Odroid-N2 VESA bracket. This Bracket is not compatible with the VESA mounting hole dimensions (neighter 100x100mm nor 75mm x 75mm).
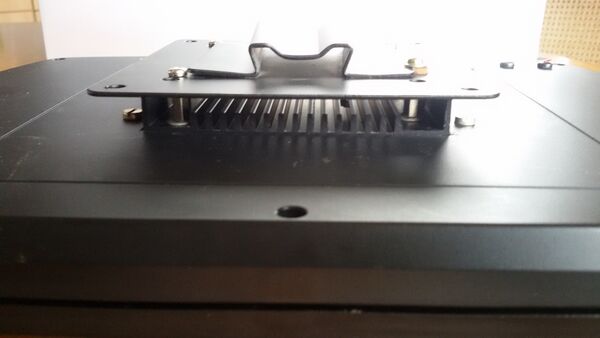
- The solution for me was "just mounting the VESA-Adapter for a microphone-stand directly onto the Odroid-N2 heatsink"
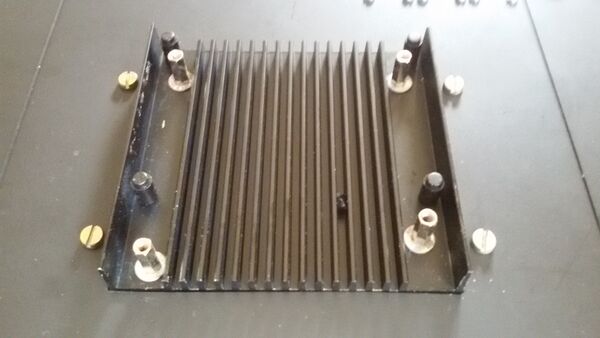
- I screwed 4x 12mm M3 standoffs into the heatsink.....
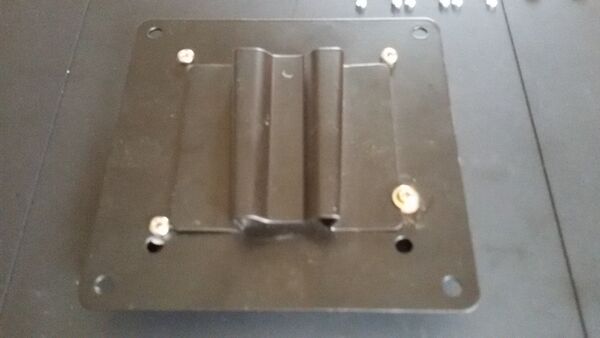
- ....and mounted the removable part of the VESA-Microphone-Stand-Adapter directly onto the ODROID-N2 heatsink
- VESA-Adapter: the "microphone-stand-part"
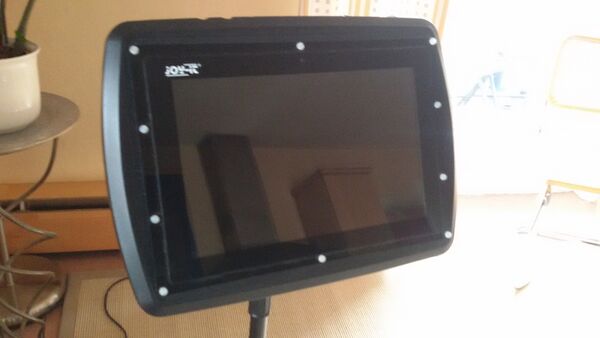
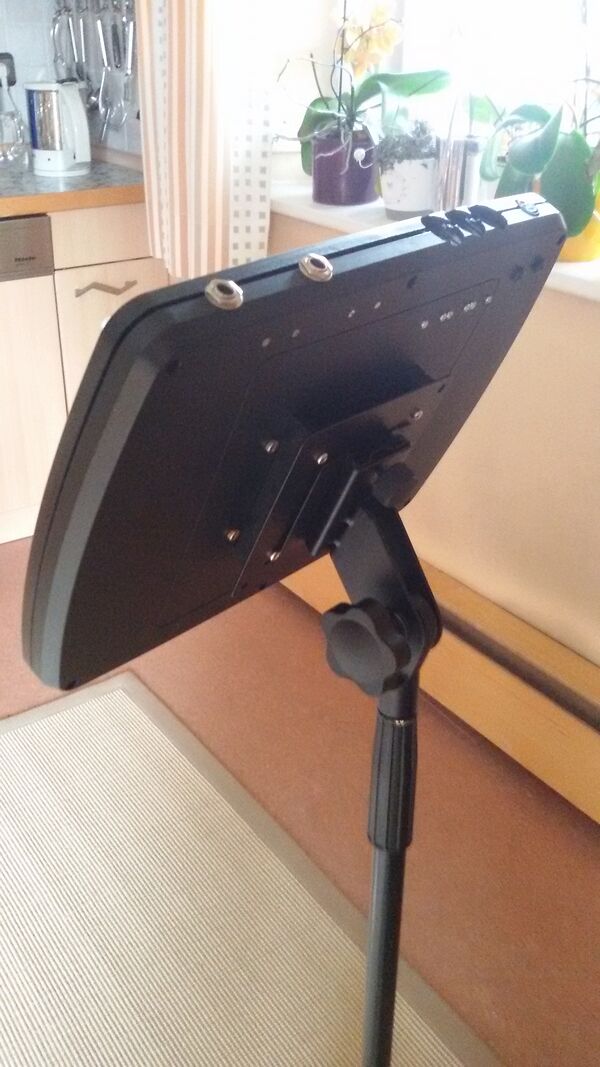
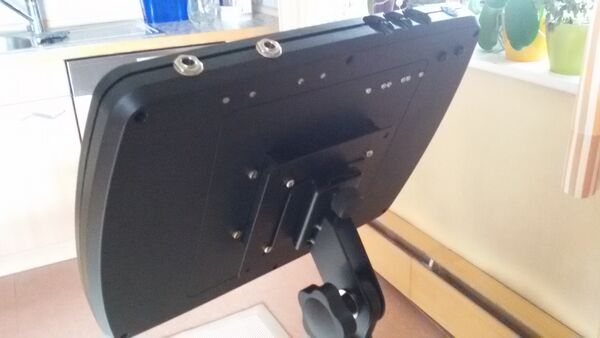
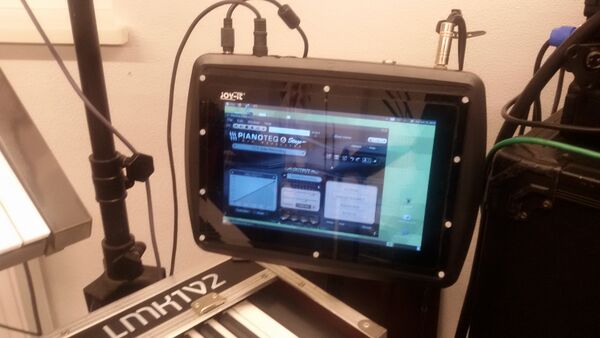
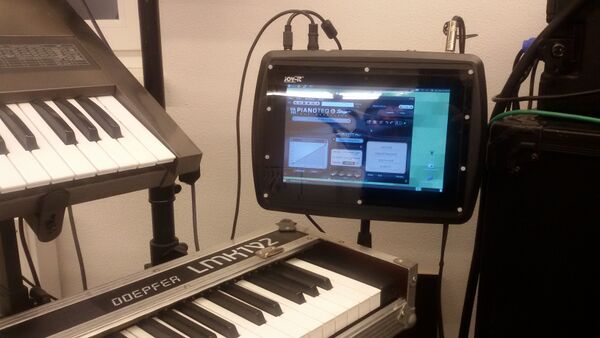
THE RESULT
- remark: the screws to hold the 2 parts of the housing together are not there
> Main Page > Piano Expander based on Pianoteq and Odroid-N2
